

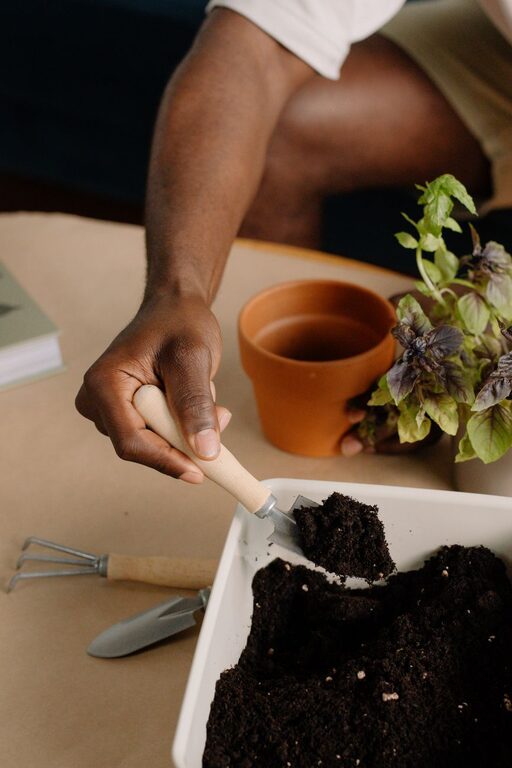
Starting a small herb garden indoors is a rewarding project that can bring fresh flavors to your cooking and greenery to your living space year-round. Whether you live in an apartment or have limited outdoor space, growing herbs inside is simple and satisfying. This guide walks you through everything you need to know to get your indoor herb garden growing healthy and strong.
Why Grow Herbs Indoors?
Growing herbs indoors offers several benefits:
– Fresh, organic herbs whenever you need them
– Saves money on store-bought herbs
– Adds natural beauty and aroma to your home
– Great project for beginners and kids
– Control over growing conditions and fewer pests
With just a few supplies and some care, you can enjoy basil, parsley, thyme, and many other herbs on your windowsill or countertop.
Choosing the Right Herbs for Indoors
Not all herbs thrive indoors, so selecting varieties suited for indoor growing is important. Here are some popular options:
– Basil: Loves bright light and warmth
– Parsley: Grows well in indirect light and cooler temps
– Thyme: Tolerant of drier soil, prefers bright light
– Chives: Adaptable and easy to grow indoors
– Mint: Vigorous grower but keep it confined to a pot
– Cilantro: Prefers cooler indoor temps and plenty of light
Starting with 3-5 different herbs is ideal for a small indoor garden.
Essential Supplies for Your Indoor Herb Garden
Before planting, gather the following items:
– Small pots or containers with drainage holes
– Quality potting mix designed for indoor plants
– Herb seeds or starter plants from a nursery
– Spray bottle for watering
– A sunny windowsill or supplemental grow lights
– Labels or markers for each herb
Good drainage and light are key to healthy herbs.
Step-by-Step Guide to Planting Your Herbs
1. Select Containers
Choose containers that are about 4-6 inches deep with drainage holes. Avoid using garden soil, which can be too heavy and may contain pests.
2. Fill with Potting Mix
Use a light, well-draining potting mix formulated for indoor plants. Fill each pot, leaving about an inch of space at the top.
3. Plant Seeds or Seedlings
If starting from seeds, follow the packet instructions for depth and spacing. Cover lightly with soil. For seedlings, gently remove from their nursery pots and place them in your containers.
4. Water Gently
Mist the soil surface with water to make it moist but not soggy. Overwatering can cause root rot.
5. Position for Light
Place your pots on a windowsill that receives at least 6 hours of sunlight daily. South-facing windows work best. If natural light is limited, consider grow lights.
6. Label Your Herbs
Use small labels or markers to remember which herb is which.
Care Tips for Thriving Indoor Herbs
Light
Most herbs need plenty of light. Rotate pots weekly if your window light is uneven.
Watering
Water when the top inch of soil feels dry. Avoid letting herbs sit in water.
Humidity and Temperature
Herbs prefer moderate humidity and temperatures between 65–75°F. Avoid drafty areas.
Feeding
Feed herbs with a diluted liquid fertilizer every 4-6 weeks during the growing season.
Pruning and Harvesting
Regularly pinch or cut leaves to encourage bushy growth. Use clean scissors to harvest from the top.
Dealing with Common Challenges
– Leggy Growth: Usually due to insufficient light; move plants closer to the window or add grow lights.
– Yellow Leaves: Could be overwatering or poor drainage. Check soil moisture and pot drainage.
– Pests: Indoor herbs can occasionally attract aphids or spider mites. Wipe leaves with a damp cloth or use insecticidal soap.
Creative Ideas for Your Indoor Herb Garden
– Use decorative pots or recycled containers for a unique look
– Create a vertical herb garden with wall-mounted planters
– Grow herbs in a kitchen window box for easy access during cooking
– Combine herbs with small indoor flowers for added color
Conclusion
With some basic supplies, a bit of patience, and regular care, starting a small herb garden indoors is easy and fun. You’ll enjoy fresh herbs to enhance your meals and a touch of nature inside your home. Give it a try—your kitchen and taste buds will thank you!